Chasing Aurora: A Complete Guide to Photographing the Northern Lights in Iceland
Everything you need to know about capturing the Aurora Borealis in Iceland. From camera settings to the best locations, this guide will help you photograph one of nature's most spectacular displays.
Chasing Aurora: A Complete Guide to Photographing the Northern Lights in Iceland
There’s something magical about the Northern Lights that draws photographers from around the world. As someone who’s chased auroras across multiple countries, I can tell you that Iceland offers some of the most spectacular displays on Earth. But capturing them? That’s where the real challenge begins.
Understanding the Aurora Borealis
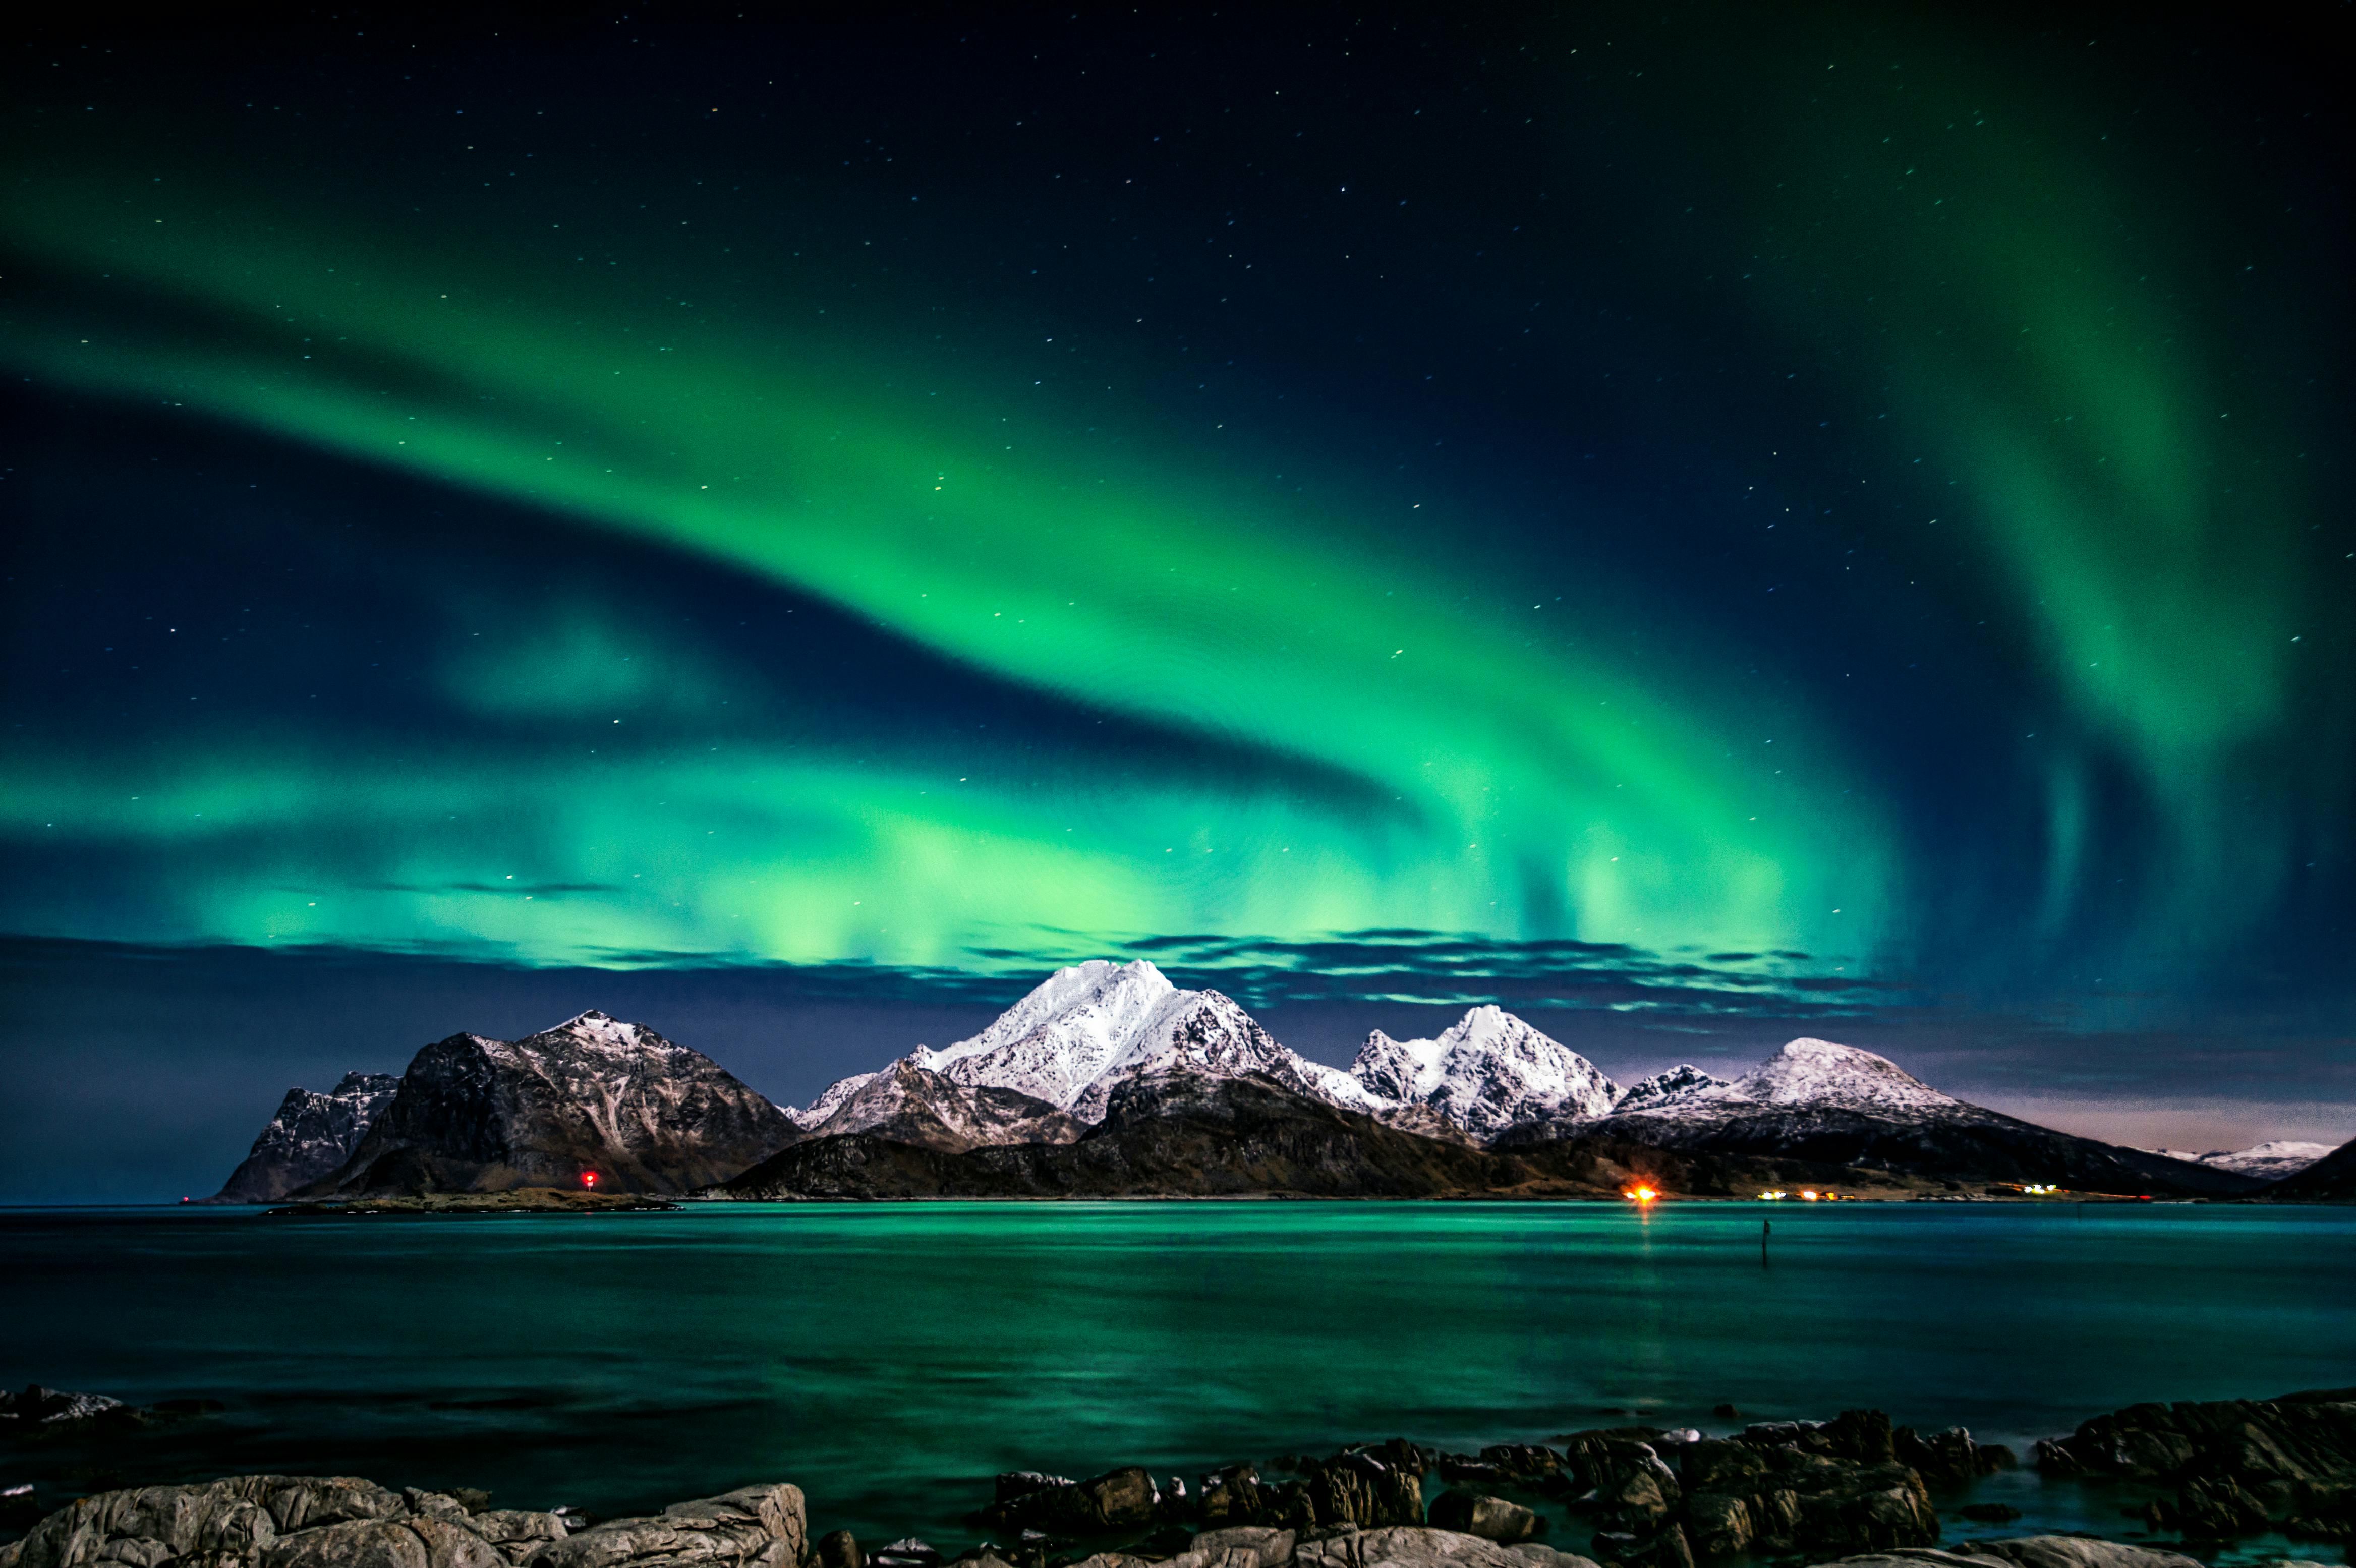
Before we dive into the technical stuff, let’s talk about what we’re actually photographing. The Northern Lights occur when charged particles from the sun collide with Earth’s atmosphere. The result? A mesmerizing dance of green, purple, and sometimes red lights across the sky.
When to Go
- Best Season: September to March
- Peak Months: October and March
- Best Time: 10 PM to 2 AM (though they can appear anytime it’s dark)
Essential Gear
Camera Equipment
- Camera: Full-frame DSLR or mirrorless (APS-C works too, but full-frame is better for low light)
- Lens: Wide-angle lens (14-24mm or 16-35mm) with f/2.8 or faster aperture
- Tripod: Sturdy, wind-resistant tripod (Iceland is windy!)
- Remote Shutter: To avoid camera shake
- Extra Batteries: Cold weather drains batteries fast
- Lens Cloth: For cleaning condensation
What I Use
- Camera: Sony A7R IV
- Lens: Sony 14-24mm f/2.8 GM
- Tripod: Manfrotto MT055CXPRO4
- Remote: Sony RMT-P1BT
Camera Settings
Basic Settings
- Mode: Manual
- Aperture: f/2.8 (or as wide as your lens allows)
- Shutter Speed: 10-30 seconds (start with 15 seconds)
- ISO: 1600-3200 (adjust based on aurora intensity)
- Focus: Manual focus to infinity
- White Balance: Daylight or Auto
- Image Format: RAW
Pro Tips for Settings
- Test Your Focus: Use a bright star or distant light to set infinity focus
- Bracket Your Shots: Take multiple exposures (5s, 10s, 15s, 20s)
- Check Your Histogram: Ensure you’re not clipping highlights
- Use Live View: To compose your shot in the dark
Best Locations in Iceland
1. Kirkjufell (Snæfellsnes Peninsula)
- Why: Iconic mountain with aurora reflections
- Best Time: September to March
- Pro Tip: Arrive early to scout compositions
2. Jökulsárlón Glacier Lagoon
- Why: Aurora reflected in icebergs
- Best Time: October to February
- Pro Tip: Watch for ice chunks moving in the water
3. Reynisfjara Black Sand Beach
- Why: Dramatic basalt columns with aurora
- Best Time: September to March
- Warning: Watch for sneaker waves!
4. Thingvellir National Park
- Why: Historical significance and clear skies
- Best Time: October to March
- Pro Tip: Great for aurora timelapses
Weather and Aurora Forecasting
Essential Apps
- Aurora Forecast: Real-time aurora activity
- Vedur: Icelandic weather service
- My Aurora Forecast: Detailed predictions
- Clear Outside: Cloud cover predictions
What to Look For
- KP Index: 3+ is good, 5+ is excellent
- Cloud Cover: Clear skies are essential
- Solar Wind: Higher activity = better displays
- Moon Phase: New moon = darker skies = better aurora
Composition Techniques
Foreground Elements
- Mountains: Create depth and scale
- Water: Reflections add drama
- Trees: Frame the aurora
- Buildings: Add human element
Camera Angles
- Low Angle: Emphasize foreground
- Wide Shots: Capture the full display
- Vertical: For tall aurora pillars
- Pano: For 360-degree aurora
Post-Processing Tips
Basic Adjustments
- Exposure: Brighten if needed (but don’t overdo it)
- Contrast: Enhance the aurora colors
- Saturation: Boost greens and purples slightly
- Noise Reduction: Use sparingly to maintain detail
Advanced Techniques
- Stacking: Combine multiple exposures for less noise
- Blending: Merge different exposures for dynamic range
- Color Grading: Enhance the aurora colors
- Sharpening: Apply selectively to the aurora
Common Mistakes to Avoid
- Wrong Focus: Always use manual focus
- Too Long Exposure: Aurora moves fast, keep it under 30 seconds
- High ISO: Don’t go above 3200 unless necessary
- Poor Composition: Plan your foreground elements
- Not Checking Weather: Clear skies are essential
What to Wear
Iceland is cold, especially at night. Here’s what I recommend:
- Base Layer: Merino wool thermal underwear
- Mid Layer: Fleece or down jacket
- Outer Layer: Waterproof shell
- Pants: Insulated hiking pants
- Boots: Waterproof, insulated boots
- Accessories: Hat, gloves, neck gaiter
Safety Tips
- Never go alone: Always have a buddy
- Tell someone: Let others know your plans
- Check conditions: Weather can change quickly
- Stay warm: Hypothermia is a real risk
- Bring supplies: Water, snacks, emergency blanket
The Magic Moment
There’s nothing quite like seeing the aurora for the first time. The way it dances across the sky, changing colors and intensity, is truly mesmerizing. And when you finally capture that perfect shot, all the planning and preparation becomes worth it.
Final Thoughts
Photographing the Northern Lights in Iceland is challenging, rewarding, and absolutely unforgettable. It requires patience, preparation, and a bit of luck, but the results are worth every effort.
Remember, the aurora is unpredictable. You might wait for hours and see nothing, or you might be treated to the most spectacular display of your life. That’s part of the magic – you never know what nature will give you.
Have you photographed the Northern Lights? Share your experiences and tips in the comments below!
Follow my photography journey on Instagram @wala_travels and check out my YouTube channel @WalaAdventures for more photography tutorials!

Comments